I couldn’t resist putting in an Ebay best offer on this very nice, all solid wood, Nitrocellulose finished, 00 Martin style guitar. It had been relisted a few times and had very good photos showing its problems.
It had problems from the factory with poor bridge attachment and deep crosshatch cuts into the bridge footprint on the Spruce top and bottom of the bridge. The top had also been routed about 1/32″ deep inside the bridge footprint which along with the severed wood fibers from the cuts left a weak spot in the top, flexed under full string tension and lifted the bridge. The bridge came off at least once previously and was reattached without addressing the deep crosshatching under the bridge and thinning inside the bridge footprint on the top plate,

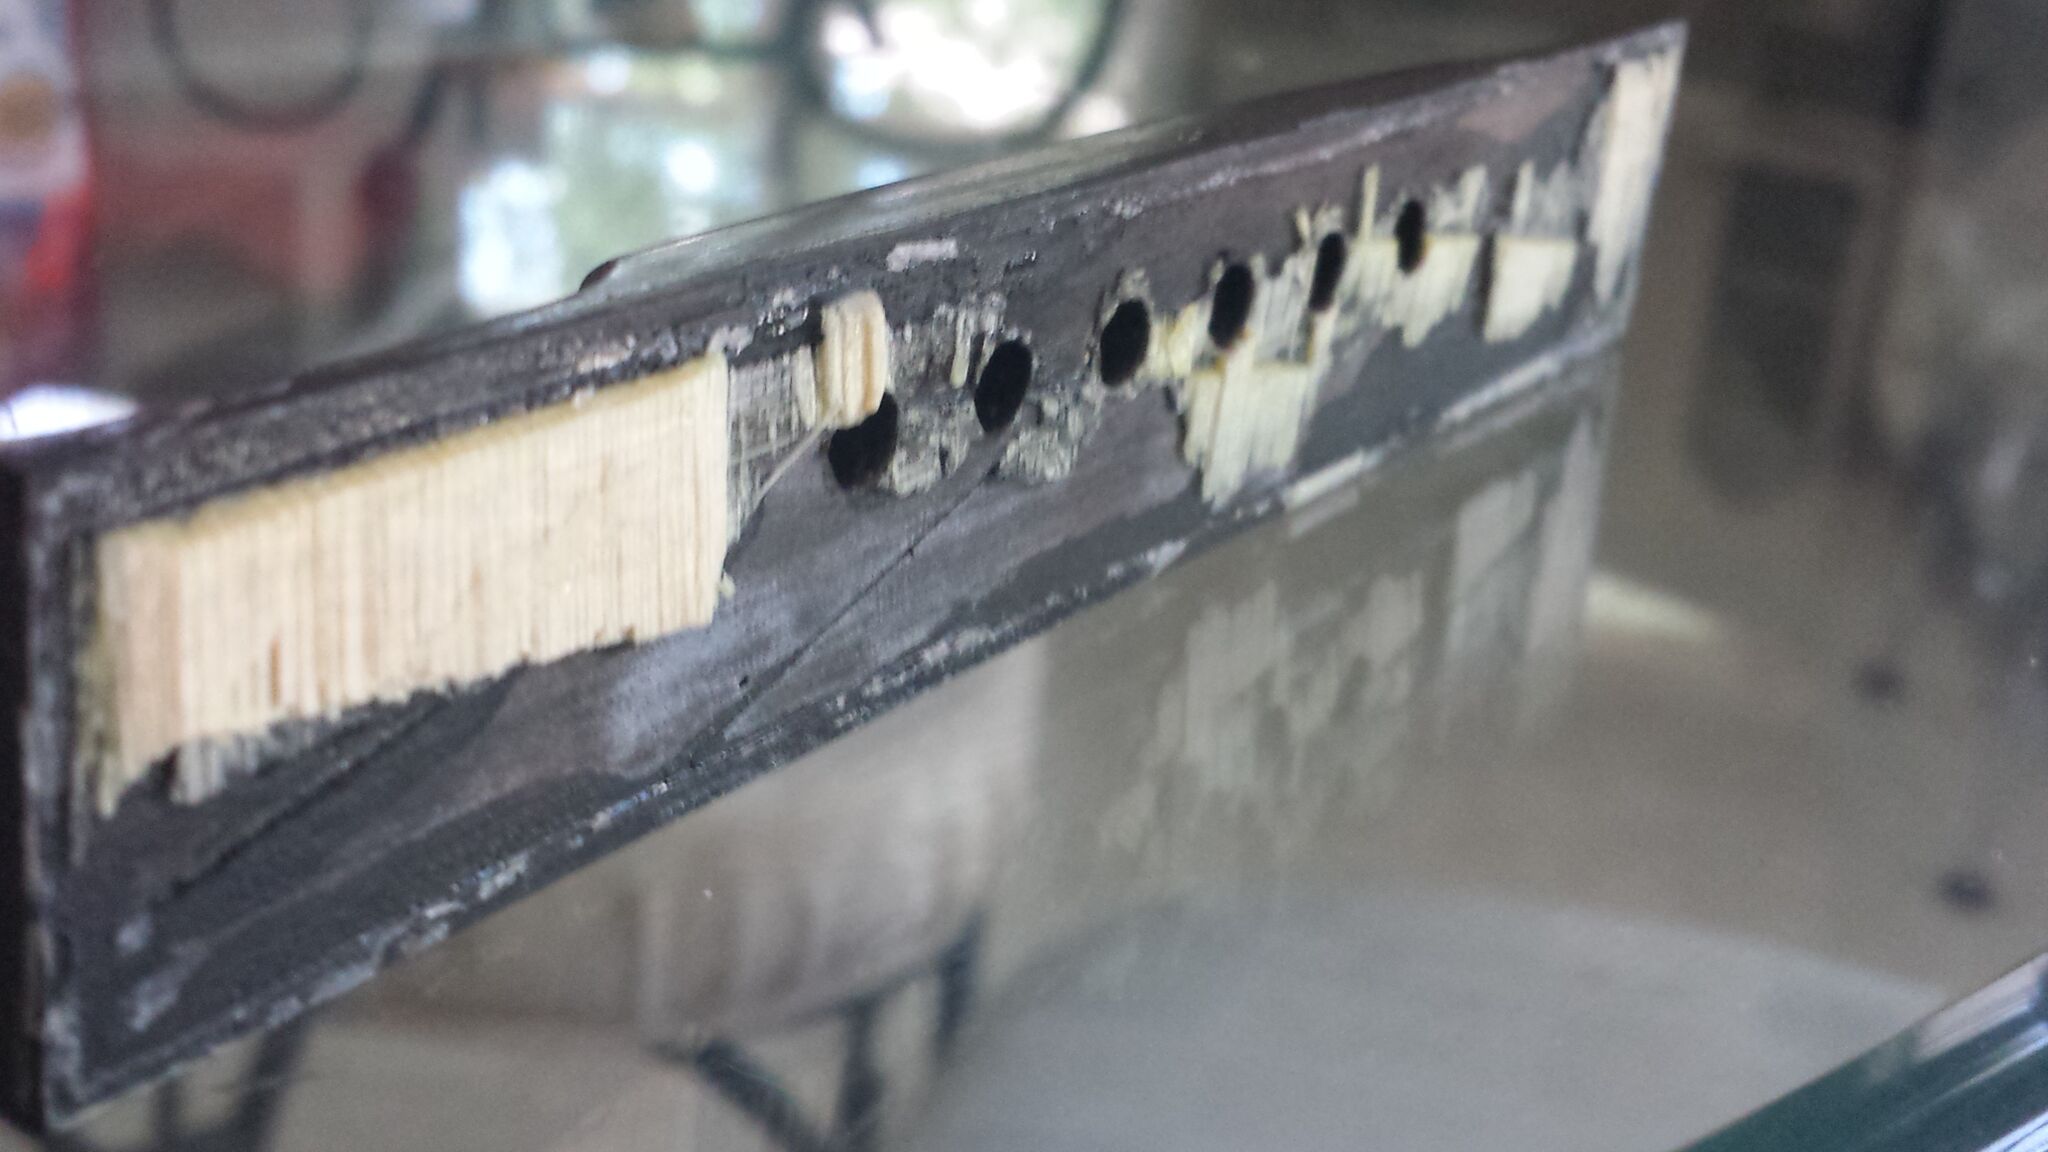
and most importantly, remove the thin 1/16″ X 3/64″ ridge of CA around the bridge bottom which RK thought was enough to hold it forever and created a gap under the bridge. The only place the repair held was on the bass side with no substantial attachment between the bridge pin holes and the treble side. CA, yellow or white glue won’t bond to itself or fill a gap.

All of this lead to a catastrophic bridge detachment causing a lower bout top crack between the bridge and end block,

The finish checks/cracks on both sides of the top bout leading out from the fretboard extension happened when it suddenly flexed as the bridge let go. Thankfully, there is no wood involvement. I’ll follow Frank Ford’s advice to repair them. http://www.frets.com/FretsPages/Luthier/Technique/Finish/Lacquer/CheckRepair/checkfill.html

There are some deep dings in the sides where the bridge hit during this also.

The first job is to round up a few items, It will need a saddle, nut, bridge pins, slow lacquer solvent/amalgamator for the finish cracks (Frank Ford uses Cellosolve which is really toxic (it may explain his superhuman powers) so I’m using MAK (not MEK) and EEP in a blush remover per the tech at RPM (Mohawk/Behlen’s) who make nitro finishes…still toxic but not so many nasty ingredients and it comes in a rattle can…not quarts/gallons/5 gallons), Behlen’s Stringed Instrument Lacquer and toothpicks for drop filling.
Tool wise I will need a super sharp pointy knife to dig out the finish cracks, router with a flat bottomed bit, hot hide glue and a custom clamping caul for the bridge and top shim. For the top crack I’ll need thin CA, blood pressure cuff to inflate and gently push the top crack apart from the inside for cleaning, micropipettes with the tips heated and stretched for the thin CA, Dawn dishwashing detergent and Oxalic acid to clean and gently bleach any oxidation of exposed wood in the crack. Hopefully, it’s just dirt and finger grease accumulated from everyone rubbing their fingers over it.
Here we go!